
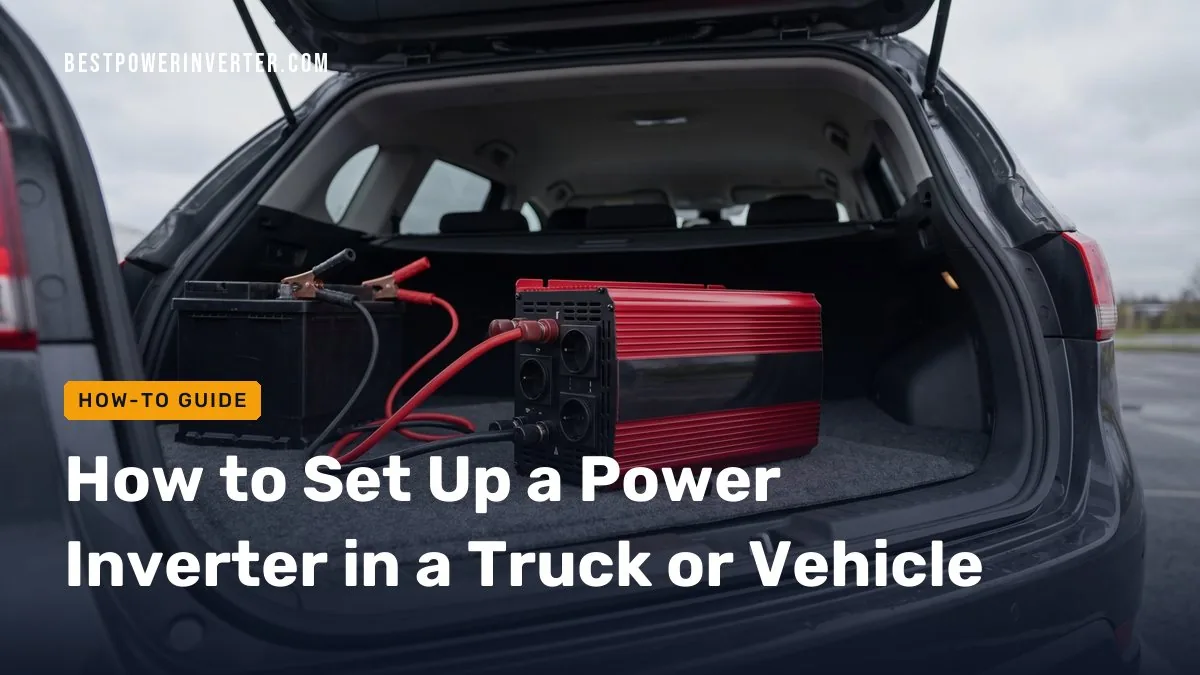
Mount the inverter on a solid, dry, ventilated surface, run correctly sized cables to the battery, and fit the specified fuse in the positive cable within 18 inches of the battery. Connect with the right polarity, add the fuse last, then switch on with no AC load. High-wattage units must connect straight to the battery, not through a cigarette-lighter socket.
Quick answer
Mount the inverter securely, run heavy positive and negative cables to the battery, and fuse the positive cable close to the battery terminal. Install the fuse last, then power on with nothing plugged in and check the voltage.
- Best for loads under about 150 watts: plug-in socket inverter
- Best for 1,000 watts and up: direct battery wiring with a fuse
- Small plug-in inverters use the accessory socket. Large inverters need direct battery cables.
- A 2,000-watt inverter at 12 volts draws about 167 amps before losses.
- Put the manufacturer-specified fuse in the positive cable, within 18 inches of the battery.
- Install the fuse last, then test with no AC load.
- Keep cables away from exhaust heat, moving parts, and sharp edges.
- Your inverter manual overrides any general guide, including this one.
- Plug-In or Direct Wiring?
- How Do I Set Up a Power Inverter Step by Step?
- Where Should I Mount a Power Inverter in a Vehicle?
- What Size Cable and Fuse Do I Need?
- Where Should the Inverter Fuse Be Installed?
- How Do I Hook Up a Power Inverter to a 12-Volt Battery?
- How Do I Ground a Vehicle Power Inverter Safely?
- How Do I Hook Up a Power Inverter in a Truck?
- Pure Sine Wave or Modified Sine Wave?
- How Do I Test the Inverter After Installation?
- Troubleshooting Table
- Installation Checklist
- When to Call a Professional
- Frequently Asked Questions
Plug-In or Direct Wiring? Start With Your Wattage
Inverters fall into two groups. Low-power units plug into a 12-volt accessory socket. High-power units must be wired to the battery with heavy cable. Watts divided by volts gives you the current, and current decides everything else.
Can I plug a high-wattage inverter into a cigarette-lighter outlet?
No. Accessory sockets are wired with thin cable and a small fuse, often in the 10 to 15 amp range. Check your vehicle manual for the exact rating. At 12 volts, 15 amps is only about 180 watts. A large inverter would blow that fuse or overheat the wiring behind the dash.
| Inverter size | Approx. current at 12 V | Wiring approach | Suitable use |
|---|---|---|---|
| Up to about 150 W | Up to about 13 A | Accessory socket | Phone, laptop, camera chargers |
| 300 W | About 25 A | Direct to battery, fused | Small tools chargers, larger electronics |
| 1,000 W | About 83 A | Direct to battery, heavy cable, fused | Power tools, small appliances |
| 2,000 W | About 167 A | Direct to battery or battery bank, very heavy cable | Work trucks, heavier tools |
| 3,000 W | About 250 A | Direct to battery bank, professional install advised | Mobile work, RV systems |
These figures are simple watts-divided-by-volts math. Real current runs higher because the inverter wastes some energy as heat.
How Do I Set Up a Power Inverter Step by Step?
Mount the inverter first, run the cables second, connect the battery last, and test with no load. The order matters because a live battery can deliver hundreds of amps into a short circuit.
- Confirm voltage. The inverter’s DC input voltage must match the battery. Most vehicles use 12 volts.
- Pick a location that is dry, cool, and ventilated.
- Mount the inverter on a solid surface before making any DC or AC connections.
- Size and cut the cables. Keep them as short as practical.
- Route the cables away from heat, moving parts, and sharp edges. Protect and fasten them.
- Connect the cables to the inverter with the inverter switched off. Check polarity.
- Connect the cables to the battery side and mount the fuse holder close to the positive terminal.
- Install the fuse last.
- Switch on with no AC load and check the voltage and indicators.
- Add a light load, then your real equipment.

Where Should I Mount a Power Inverter in a Vehicle?
Mount it on a solid, flat surface in a dry, ventilated spot, as close to the battery as practical. Short DC cables lose less power. Good airflow lets the inverter’s cooling fan do its job.
Keep these points in mind:
- Dry location. Moisture damages the electronics and corrodes terminals. Avoid wheel wells and open truck beds.
- Clear space. Leave room around the vents and fan. Do not bury the unit under bags, blankets, or cargo.
- Solid fastening. Use bolts or screws into a real structure, not thin trim panels. Vibration loosens weak mounts.
- Away from fuel and fumes. Inverters can make sparks internally and during connection. Do not mount near gasoline vapor or battery gas.
- Reachable switch. You should be able to see the display and reach the power switch.
Most inverter manuals also warn against mounting in the engine bay, where heat and moisture shorten the life of the unit. Cab or under-seat mounting is usually the safer choice.
What Size Cable and Fuse Do I Need for My Inverter?
Cable and fuse size come from the inverter’s maximum input current, and the cable gauge also depends on cable length. Higher power and longer runs both need thicker cable. Use the table in your manual. It already includes the safety margin.
Worked example: a 2,000-watt inverter
Current equals watts divided by volts.
- 2,000 W ÷ 12 V = about 167 amps.
- That is the ideal figure. Inverters are not perfectly efficient. If an inverter is 90% efficient (an example figure, not a spec), the battery supplies about 185 amps.
That is a huge current. A standard 12-volt accessory circuit cannot carry it. Thin cable would get hot, drop voltage, and could start a fire. A properly rated fuse protects the cable if a short happens. This is why large inverters need direct battery wiring, thick cable, and the correct fuse.
Manufacturer manuals, such as this inverter owner’s manual covering battery cable and fuse requirements, list the gauge and fuse by model and cable length. Look up your exact unit.
Cable rules that apply to every install
- Use stranded copper cable rated for automotive or marine use.
- Use the same gauge for positive and negative.
- Use crimped or soldered lugs sized for the cable. Loose or undersized lugs create heat.
- Keep runs short. If you must go long, go up in cable size per the manual.
Where Should the Inverter Fuse Be Installed?
Install the fuse in the positive cable, as close to the battery as possible. Manufacturer guidance commonly requires it within 18 inches of the battery positive terminal. Check your manual for the exact distance.
The reason is simple. The fuse protects the cable. If the cable rubs through its insulation and touches metal, the short sits between the battery and the fuse. That is a dangerous stretch, so keep it as short as you can. A fuse placed near the inverter leaves the whole cable run unprotected.
Some installs use a DC circuit breaker or disconnect instead. Only do this if the manual allows it and the rating matches.
How Do I Hook Up a Power Inverter to a 12-Volt Battery?
Connect the positive cable from the inverter’s positive terminal through the fuse to the battery positive. Connect the negative cable from the inverter’s negative terminal to the battery negative. Polarity must be correct. Reverse polarity can destroy the inverter instantly.
- Turn the inverter switch off.
- Attach the cables to the inverter terminals. Red goes to positive, black to negative.
- Run the cables to the battery.
- Mount the fuse holder on the positive cable near the battery, with the fuse out.
- Connect the negative cable to the battery negative.
- Connect the positive cable and fuse holder to the battery positive.
- Check every connection for tightness and polarity.
- Insert the fuse last.
A small spark when the last connection is made can be normal. The inverter’s internal capacitors charge quickly. Doing this with the switch off helps. Tighten terminals firmly, since loose ones overheat under heavy current.
- Load under about 150 W? A plug-in inverter in the accessory socket can work.
- Load over that, or the inverter has screw terminals? Wire directly to the battery with a fuse.
- Need to run the inverter with the engine off for long periods? Consider a separate deep-cycle battery bank so you do not strand the starting battery.
How Do I Ground a Vehicle Power Inverter Safely?
Grounding means three different things here, and guides often mix them up. Follow your manual for each.
- DC negative return. This is the heavy black cable carrying current back to the battery. It is part of the working circuit.
- Chassis ground. Many inverters have a separate ground lug on the case. The manual usually tells you to bond it to the vehicle chassis with a suitable wire. This is a safety connection, not the main current path.
- AC safety ground. This is the ground pin on the inverter’s AC outlets. How it connects to the chassis is set by the inverter design, so do not modify it.
Should the negative cable connect to the battery or the truck frame?
For high-current inverters, connect the negative cable directly to the battery negative terminal unless the manual says otherwise. A frame connection adds paint, rust, and bolted joints to the current path, and those add resistance and heat. Some manuals allow a chassis connection near the battery with a clean, bare-metal contact. Follow yours.

How Do I Hook Up a Power Inverter in a Truck?
Mount the inverter in the cab or a protected compartment, then run fused cables directly to the truck battery or a battery bank. Do not rely on the accessory socket for high-wattage loads. Manufacturers of truck inverters publish installation guides, such as this installation workbook for trucks.
Trucks add hazards that a bench setup does not have:
- Exhaust heat. Keep cables well away from manifolds, turbos, and exhaust pipes. Heat melts insulation.
- Moving parts. Stay clear of belts, fans, steering linkage, and suspension travel.
- Sharp edges. Use a rubber grommet wherever a cable passes through the firewall or a metal panel.
- Vibration. Fasten cables with clamps or ties at regular intervals. Loose cable rubs through insulation over time.
- Protection. Use split loom or conduit in the engine bay.
- Moisture. Seal exposed lugs and keep the fuse holder out of spray zones.
Also check the battery side. Many modern trucks have battery management systems and dual batteries. Connect to the post or terminal the vehicle maker approves, and read the owner’s manual before touching a sensor on the negative terminal.
Pure Sine Wave or Modified Sine Wave?
Pure sine wave inverters produce clean power like a wall outlet. Modified sine wave units are cheaper but produce a rougher waveform. Many electronics work on modified sine wave. Some do not.
- Pure sine wave: better for laptops, medical devices, audio gear, motors, and anything with sensitive electronics.
- Modified sine wave: may cause buzzing, extra heat, or poor performance in some motors and chargers.
Check the device label and the inverter manual. If you are unsure, pure sine wave is the safer pick. The wiring steps above are the same for both.
How Do I Test the Inverter After Installation?
Switch the inverter on with no AC load connected, then check the voltage and indicators before you plug anything in. This catches wiring errors while the risk is low.
- Inspect all connections once more. Check polarity, tight terminals, and cable routing.
- Install the fuse.
- Switch the inverter on with nothing plugged in.
- Check the display or indicator lights. There should be no alarms.
- Measure DC voltage at the inverter terminals with a multimeter. It should match the battery voltage, with only a small drop.
- Measure AC output at an outlet if you have a suitable meter.
- Plug in a small load, such as a lamp. Confirm it works normally.
- Add your real equipment. Feel the cables and terminals after a few minutes. Warm is acceptable. Hot is a problem.
Keep the engine running during heavy loads so the alternator supports the battery. Running a big inverter off a battery alone drains it fast and can leave you unable to start.
Troubleshooting: Common Problems and Fixes
| Symptom | Likely cause | What to check |
|---|---|---|
| Low-voltage shutdown or alarm | Weak battery, long or thin cable, loose terminal | Battery voltage, cable size, tight connections |
| Blown fuse | Overload, short circuit, reverse polarity, wrong fuse | Load wattage, cable insulation, polarity, fuse rating |
| Overheating | Blocked vents, hot location, load too high | Airflow, mounting spot, load vs. rating |
| Buzzing | Modified sine wave with sensitive device, loose connection | Device type, connections, switch to pure sine wave |
| Overload alarm | Load above inverter rating or high startup surge | Add up device watts, remember motor surges |
| No AC output | Switch off, tripped protection, blown fuse, bad outlet | Power switch, indicator code, fuse, DC voltage |
Signs of overload include hot cables, a warm fuse holder, dimming headlights, and the fan running hard. Turn the inverter off and fix the cause before using it again. For fault codes, use your manual. The inverter maker’s power inverter safety tips also cover common hazards.
Printable Installation Checklist
- ☐ Inverter DC voltage matches the battery
- ☐ Inverter mounted on a solid surface, dry and ventilated
- ☐ Vents clear of cargo and clutter
- ☐ Cable gauge matches the manual for power and length
- ☐ Positive (red) and negative (black) polarity confirmed
- ☐ Fuse in the positive cable, within the manual’s distance of the battery (commonly 18 inches)
- ☐ Fuse type and rating match the manufacturer’s specification
- ☐ Cables routed away from exhaust, moving parts, and sharp edges
- ☐ Cables protected with loom or grommets and fastened securely
- ☐ Chassis ground connected as the manual directs
- ☐ All terminals tight, lugs crimped properly
- ☐ Fuse installed last
- ☐ Powered on with no AC load, voltage checked
- ☐ Light load tested, then full load, with cable temperature checked
When to Call a Professional
Hire a qualified installer if any of these apply:
- The inverter is 2,000 watts or larger and you have not wired high-current DC before.
- You are connecting to a battery bank, a hybrid or electric vehicle, or a truck with advanced battery management.
- The inverter will feed building or RV wiring through a transfer switch.
- Local electrical codes, commercial vehicle rules, or fleet policies apply.
Heavy DC cables can melt tools, burn skin, and start fires when shorted. If you are unsure, paying for a proper install costs far less than repairing damage.
Frequently Asked Questions
How to set up power inverter?
Match the inverter’s voltage to your battery, then mount it on a solid, dry, ventilated surface. Run correctly sized positive and negative cables, fuse the positive cable near the battery, and connect with the right polarity. Install the fuse last, switch on with no AC load, check the voltage, and then plug in your equipment.
How to hook up power inverter?
For small loads, plug the inverter into a 12-volt accessory socket. For larger loads, connect the inverter’s positive terminal through a fuse to the battery positive and its negative terminal to the battery negative. Also connect the chassis ground lug if the manual calls for it. Keep cables short, protected, and tight.
How to hook up power inverter in truck?
Mount the inverter in the cab or another protected spot. Run fused cables directly to the truck battery or an approved battery bank. Keep cables away from exhaust parts, belts, and sharp edges, and use grommets at firewall passages. Test with no load before using any equipment.
Sources