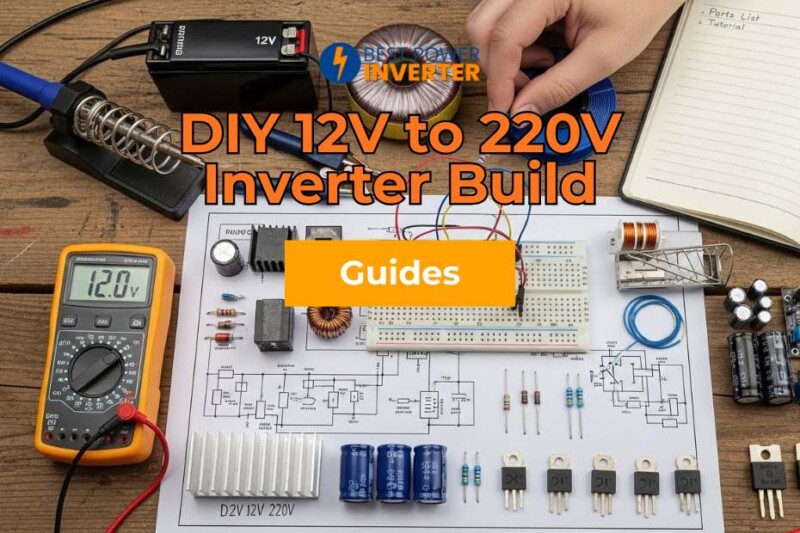
Are you looking to power your home appliances or gadgets using a simple, budget-friendly solution? Building your own 12V to 220V inverter can be the perfect answer.
In this guide, you’ll find a clear parts list and an easy-to-follow tutorial that walks you through every step of the process. Whether you’re a beginner or have some experience with electronics, this project will give you the confidence to create a reliable power source from scratch.
Keep reading, and by the end, you’ll know exactly how to turn a 12V battery into a powerful 220V supply—all with parts you can find easily and instructions you can trust. Your next DIY success starts here!
Parts List
Building a 12V to 220V inverter requires gathering the right parts first. This parts list breaks down everything you need. It separates essential components, optional accessories, and tools. This way, you can prepare well before starting the build. Proper parts ensure safety and efficiency in your inverter.
Essential Components
- 12V Battery (Deep Cycle recommended)
- Power Transistors (e.g., TIP3055 or MOSFETs)
- Transformer (12V to 220V step-up)
- Oscillator Circuit (IC 4047 or similar)
- Resistors and Capacitors (various values for the circuit)
- Diodes (for protection and rectification)
- Heat Sink (for transistor cooling)
- Printed Circuit Board (PCB) or Breadboard
- Connecting wires and terminals
- Fuse (appropriate rating for safety)
Optional Accessories
- Voltage Regulator (for stable output)
- LED Indicators (power and fault signals)
- Cooling Fan (for extended use)
- Battery Charger Module
- Enclosure Box (to protect the circuit)
- Switches (on/off control)
- Multimeter (to test connections and voltage)
Tools Required
- Soldering Iron and Solder Wire
- Wire Strippers and Cutters
- Multimeter (for measuring voltage and continuity)
- Screwdriver Set
- Drill (for enclosure holes)
- Heat Shrink Tubing or Electrical Tape
- Pliers (needle-nose preferred)
Circuit Design for DIY 12V to 220V
The circuit design is the heart of your 12V to 220V inverter project. It controls how the inverter converts low voltage DC into high voltage AC. A well-planned design ensures efficiency and safety. Understanding each part of the circuit helps you build a reliable inverter. This section breaks down the key elements of the circuit design.
Basic Diagram
The basic diagram shows the main parts and their connections. It includes the power source, oscillator, transformer, and output. The 12V battery connects to the oscillator circuit.
The oscillator creates a square wave signal. This signal drives the transformer to step up voltage. The output delivers 220V AC to your devices. The simple layout makes it easy to follow and build.
Transformer Selection
The transformer is crucial to change 12V to 220V. Choose a transformer with a 12V primary and 220V secondary winding. It must handle the current your inverter will draw.
A 100W transformer works for small loads. For higher power, pick a transformer with more wattage. Make sure the transformer is rated for 50Hz or 60Hz frequency. Using the right transformer improves performance and safety.
Oscillator Circuit
The oscillator creates the AC signal from DC power. It switches the 12V input on and off rapidly. This switching forms a square wave that drives the transformer. Simple oscillators use transistors or ICs like the 555 timer. The frequency should match the transformer rating, usually 50Hz or 60Hz. Proper oscillator design ensures stable voltage and smooth operation.
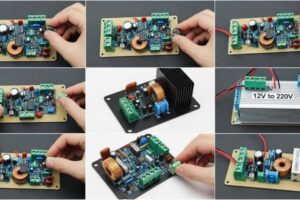
Assembly Steps for 12V to 220V
Building a 12V to 220V inverter requires careful assembly. Follow these steps to ensure your inverter works safely and efficiently. Each step focuses on a key part of the build, from preparing the board to connecting the transformer.
Preparing The Pcb
Start by inspecting the printed circuit board (PCB) for any defects. Clean the PCB surface with isopropyl alcohol to remove dirt and grease.
Check the layout to confirm where each component will fit. Place the components loosely on the PCB to verify their positions before soldering. Make sure the board is flat and stable on your work surface.
Soldering Components
Use a soldering iron with a fine tip for precise work. Heat the joint and apply solder quickly to avoid damage. Attach resistors, capacitors, diodes, and ICs according to the circuit diagram.
Double-check polarity for components like electrolytic capacitors and diodes. Trim any excess leads after soldering to prevent shorts. Inspect all joints for cold solder or bridges.
Connecting The Transformer
Identify the primary and secondary winding terminals of the transformer. Connect the 12V input wires to the primary side carefully. Secure the transformer firmly to avoid vibrations. Attach the 220V output wires to the secondary winding.
Use insulated connectors and check all connections for tightness. Confirm the wiring matches the circuit schematic before powering the inverter.
Read More: What Will a 100 Watt Power Inverter Run?
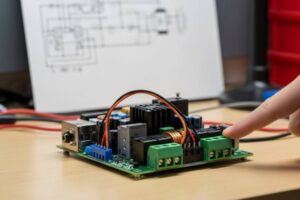
Testing The Inverter
Testing the inverter is a crucial step after assembling your 12V to 220V inverter. It ensures the device works safely and delivers the correct voltage.
Proper testing helps avoid damage to connected appliances and confirms the inverter’s performance. Follow these simple steps to verify your inverter’s output and troubleshoot any issues.
Powering Up
Start by connecting the inverter to a 12V battery. Make sure all connections are secure and correct. Switch on the inverter carefully. Watch for any unusual sounds or smells. The inverter should power up smoothly without sparks or smoke. Use a multimeter to check the output voltage at the terminals. It should read close to 220V AC.
Checking Waveform Output
Use an oscilloscope or a waveform tester to check the output signal. The waveform should be a clean sine or modified sine wave, depending on your design. A flat or distorted waveform means problems in the circuit. Proper waveform ensures safe and efficient operation of electrical devices. Confirm the frequency is around 50Hz or 60Hz, matching your local power grid.
Troubleshooting Common Issues
If the inverter does not power up, check the battery voltage and connections. A low battery or loose wire may cause failure. If the output voltage is unstable, inspect the transformer and switching components. Noise or heat may indicate faulty transistors or capacitors. Replace damaged parts and retest. Always test in a safe environment to prevent accidents.
Safety Tips
Building a 12V to 220V inverter requires careful attention to safety. High voltage and electrical components can cause serious harm. Follow key safety tips to protect yourself and your device. Proper handling, avoiding overloads, and regular maintenance ensure safe and long-lasting use.
Handling High Voltage
Always treat the inverter circuit as if it carries high voltage. Use insulated tools and wear rubber gloves. Keep the workspace dry and clean. Never touch live wires or terminals when power is on. Disconnect the battery before making any adjustments. Work in a well-ventilated area away from flammable materials.
Preventing Overloads
Do not exceed the inverter’s power rating. Overloading can damage components or cause fires. Use fuses and circuit breakers to protect the system. Check all connections are secure and tight. Avoid running multiple heavy devices simultaneously. Monitor the inverter’s temperature during use to prevent overheating.
Maintenance Advice
Inspect the inverter regularly for damage or wear. Clean dust and debris from vents and fans. Test batteries and wiring for corrosion or loose contacts. Replace worn or damaged parts immediately. Store the inverter in a cool, dry place when not in use. Proper care extends the life and performance of your inverter.
Usage Ideas
Building a 12V to 220V inverter opens many practical uses. This device converts low voltage DC power to high voltage AC power. It allows you to power various appliances and tools easily. Below are some common ways to use your homemade inverter effectively.
Home Applications
Use the inverter to run small household devices. It can power lamps, fans, and chargers. Connect it to your car battery for convenience. It works well for low-power electronics during power cuts. The inverter supports essential gadgets without needing expensive setups.
Outdoor Use
Take the inverter on camping trips to power lights and radios. It helps run portable coolers or small cooking devices. Perfect for outdoor work sites where no mains power exists. It provides reliable energy from vehicle batteries or solar panels. Enjoy electrical comfort even in remote places.
Emergency Backup
The inverter is a great backup during blackouts or storms. It keeps communication devices and medical equipment running. Connect it to a deep-cycle battery for longer use. It offers peace of mind when the grid fails. Essential for emergency kits in homes or vehicles.
Conclusion
Building a 12V to 220V inverter is simpler than it seems. Gather all parts carefully and follow each step closely. This project teaches useful skills and saves money. Test your work safely before full use. Keep learning and improving your electronics knowledge.
Enjoy powering devices with your homemade inverter.