If you rely on solar power to cut your energy bills or reduce your carbon footprint, your solar power inverter is the heart of the system. But what happens when it starts acting up?
Solar power inverter problems can disrupt your energy flow, cause frustration, and even lead to costly repairs if left unchecked.
You might notice error messages on the display, unusual noises, or a sudden drop in energy output. These signs are your inverter’s way of telling you something is wrong.
Understanding these common issues and knowing how to spot them early can save you time and money.
You’ll discover the most frequent solar inverter problems, why they happen, and simple steps you can take to fix or prevent them. Keep reading to make sure your solar setup stays efficient and reliable every day.
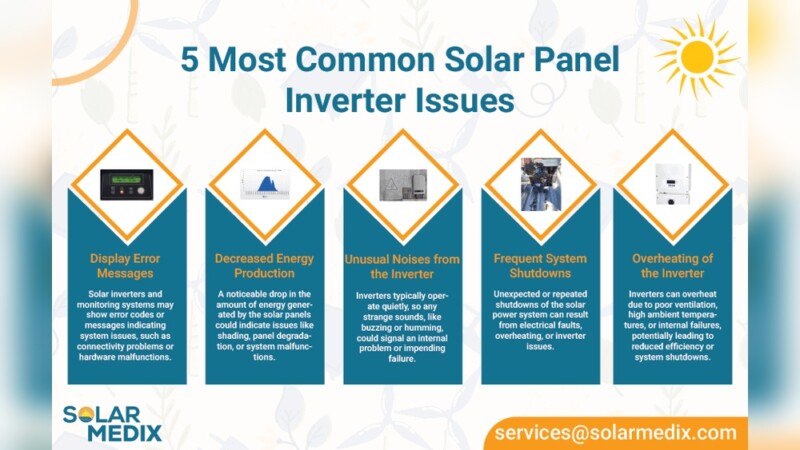
Common Inverter Issues
Overheating can damage the inverter and lower its performance. Dust and poor airflow cause heat to build up. Clean dust filters and keep vents clear.
Error messages on the display warn of problems inside the inverter. These codes help identify faults quickly. Note the code and check the manual.
Unusual noises like buzzing or clicking may mean loose parts or electrical issues. Strange sounds should be checked by a technician.
Frequent shutdowns stop energy flow and can harm connected devices. They may be caused by overheating or wiring problems.
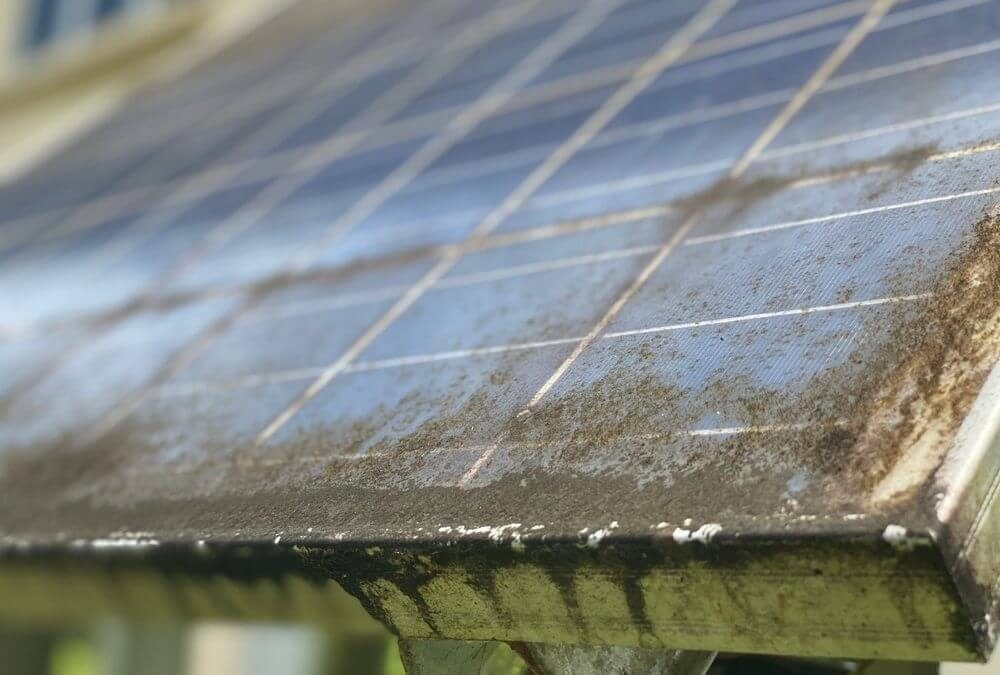
Reduced energy output means the inverter is not converting power well. This can result from dirty panels, shading, or internal faults.

Credit: www.solarrepairservice.com.au
Causes Behind Failures
Dust and poor airflow cause overheating and reduce inverter life. Dust blocks vents, stopping air from cooling parts. This makes components hot and can lead to failure. Cleaning dust filters often helps keep the inverter cool.
Electrical component wear happens over time. Parts like capacitors and circuit boards get old and weak. This lowers performance and can cause errors or shutdowns. Regular checks help spot wear early and avoid damage.
Improper installation can cause many problems. Wrong wiring or poor placement leads to faults or poor energy output. Inverters need to be installed in dry, shaded areas with good airflow to work well.
Environmental factors like heat, moisture, and pests also affect inverter health. Extreme temperatures make parts fail faster. Water or humidity causes rust and shorts. Animals or insects can chew wires and create faults.
Diagnosing Problems
Reading error codes on the inverter display helps identify issues quickly. These codes point to specific problems like wiring faults or overheating. Keep a manual nearby to understand code meanings.
Visual inspection is important. Check for dust, dirt, or damage on the inverter and its connections. Make sure vents are clear to avoid overheating. Look for loose wires or signs of wear.
Monitoring energy production shows if the system works well. Sudden drops in energy may mean inverter trouble. Use the inverter’s monitoring app or display to track daily output.
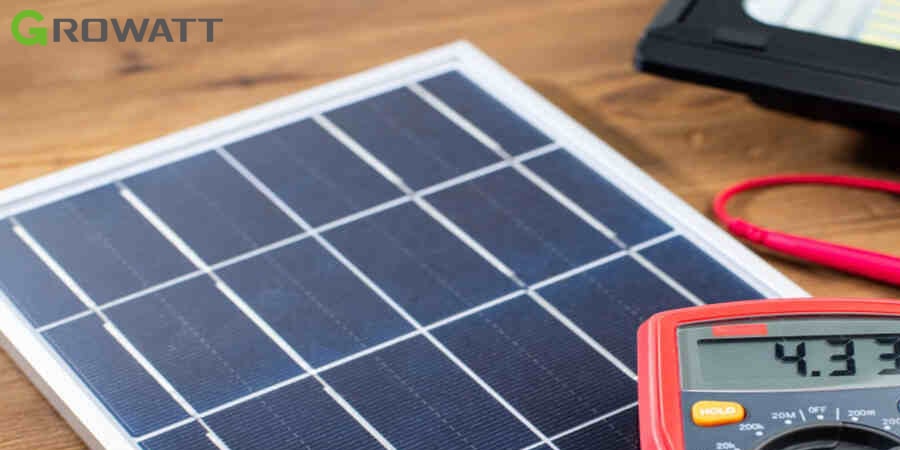
Diagnostic tools can test inverter performance. Tools like multimeters check voltage and current. Some inverters offer built-in diagnostics to scan for faults and report status.
Resetting Your Inverter
Begin by turning off the main solar supply switch. This switch is often labeled as “Solar Supply” or “Main AC Disconnect.” Next, switch off the inverter’s AC disconnect, usually a red and yellow switch located near the inverter. Then, turn off the DC disconnect, often called the “PV Array DC Isolator,” found on or near the inverter.
To power up, reverse the sequence. First, switch on the DC disconnect. Next, turn on the AC disconnect. Finally, switch on the main solar supply switch. This order helps protect the inverter and system components.
Watch the inverter display during restart to spot any error codes. This helps monitor the restart process and detect issues early.
Always follow safety precautions. Wear insulated gloves and avoid touching live wires. Ensure the area is dry and clear before starting. Never rush the process to avoid accidents.
Easy Fixes And Maintenance
Cleaning dust filters is key to keeping solar inverters cool. Dust blocks airflow and causes overheating. Use a soft brush or vacuum to remove dust gently. Avoid water or harsh chemicals to prevent damage.
Solar inverters need proper ventilation to work well. Make sure the space around the inverter is clear. Keep vents and fans free from obstructions to allow air to flow.
Tightening electrical connections stops loose wires from causing faults. Check screws and terminals regularly. Loose connections can lead to power loss or sparks. Use a screwdriver to secure them firmly but not too tight.
Many solar inverters run on software called firmware. Updates fix bugs and improve performance. Check the manufacturer’s website or app for new updates. Follow their steps to install updates safely.
Credit: solarnrg.ph
When To Call A Professional
Persistent errors on the inverter display can signal a serious problem. These errors may not clear after simple resets. In such cases, calling a professional is best to avoid further damage.
Complex electrical issues like wiring faults or internal component failure require expert knowledge. Attempting to fix these can be dangerous without proper training and tools.
| Warranty and Service Options |
|---|
|
Credit: igrowattinverter.com
Conclusion
Solar power inverter problems can affect your energy output and system lifespan. Watch for signs like error messages, strange noises, or frequent shutdowns. Keep the inverter clean and ensure proper airflow to avoid overheating. Regular checks help catch issues early and maintain performance.
Simple resets may fix minor faults but persistent problems need expert help. Staying attentive to these issues keeps your solar system running smoothly and saves money in the long run. Taking care of your inverter means more reliable solar power every day.